
Welcome back weird kids! I've returned with another way to enhanced your wardrobe all on your own. This time, I'm solving a couple of problems I face and working on a goth fashion staple: band shirts in my size! I've also thrown in an incredibly easy shirt design that isn't band related, but is very unique!
To start, I bought three barely worn black T-shirts from Goodwill, one with long sleeves, for around $4.50 each. They are not faded or weathered at all. After running them through the laundry to remove the thrift store smell, they’re ready!
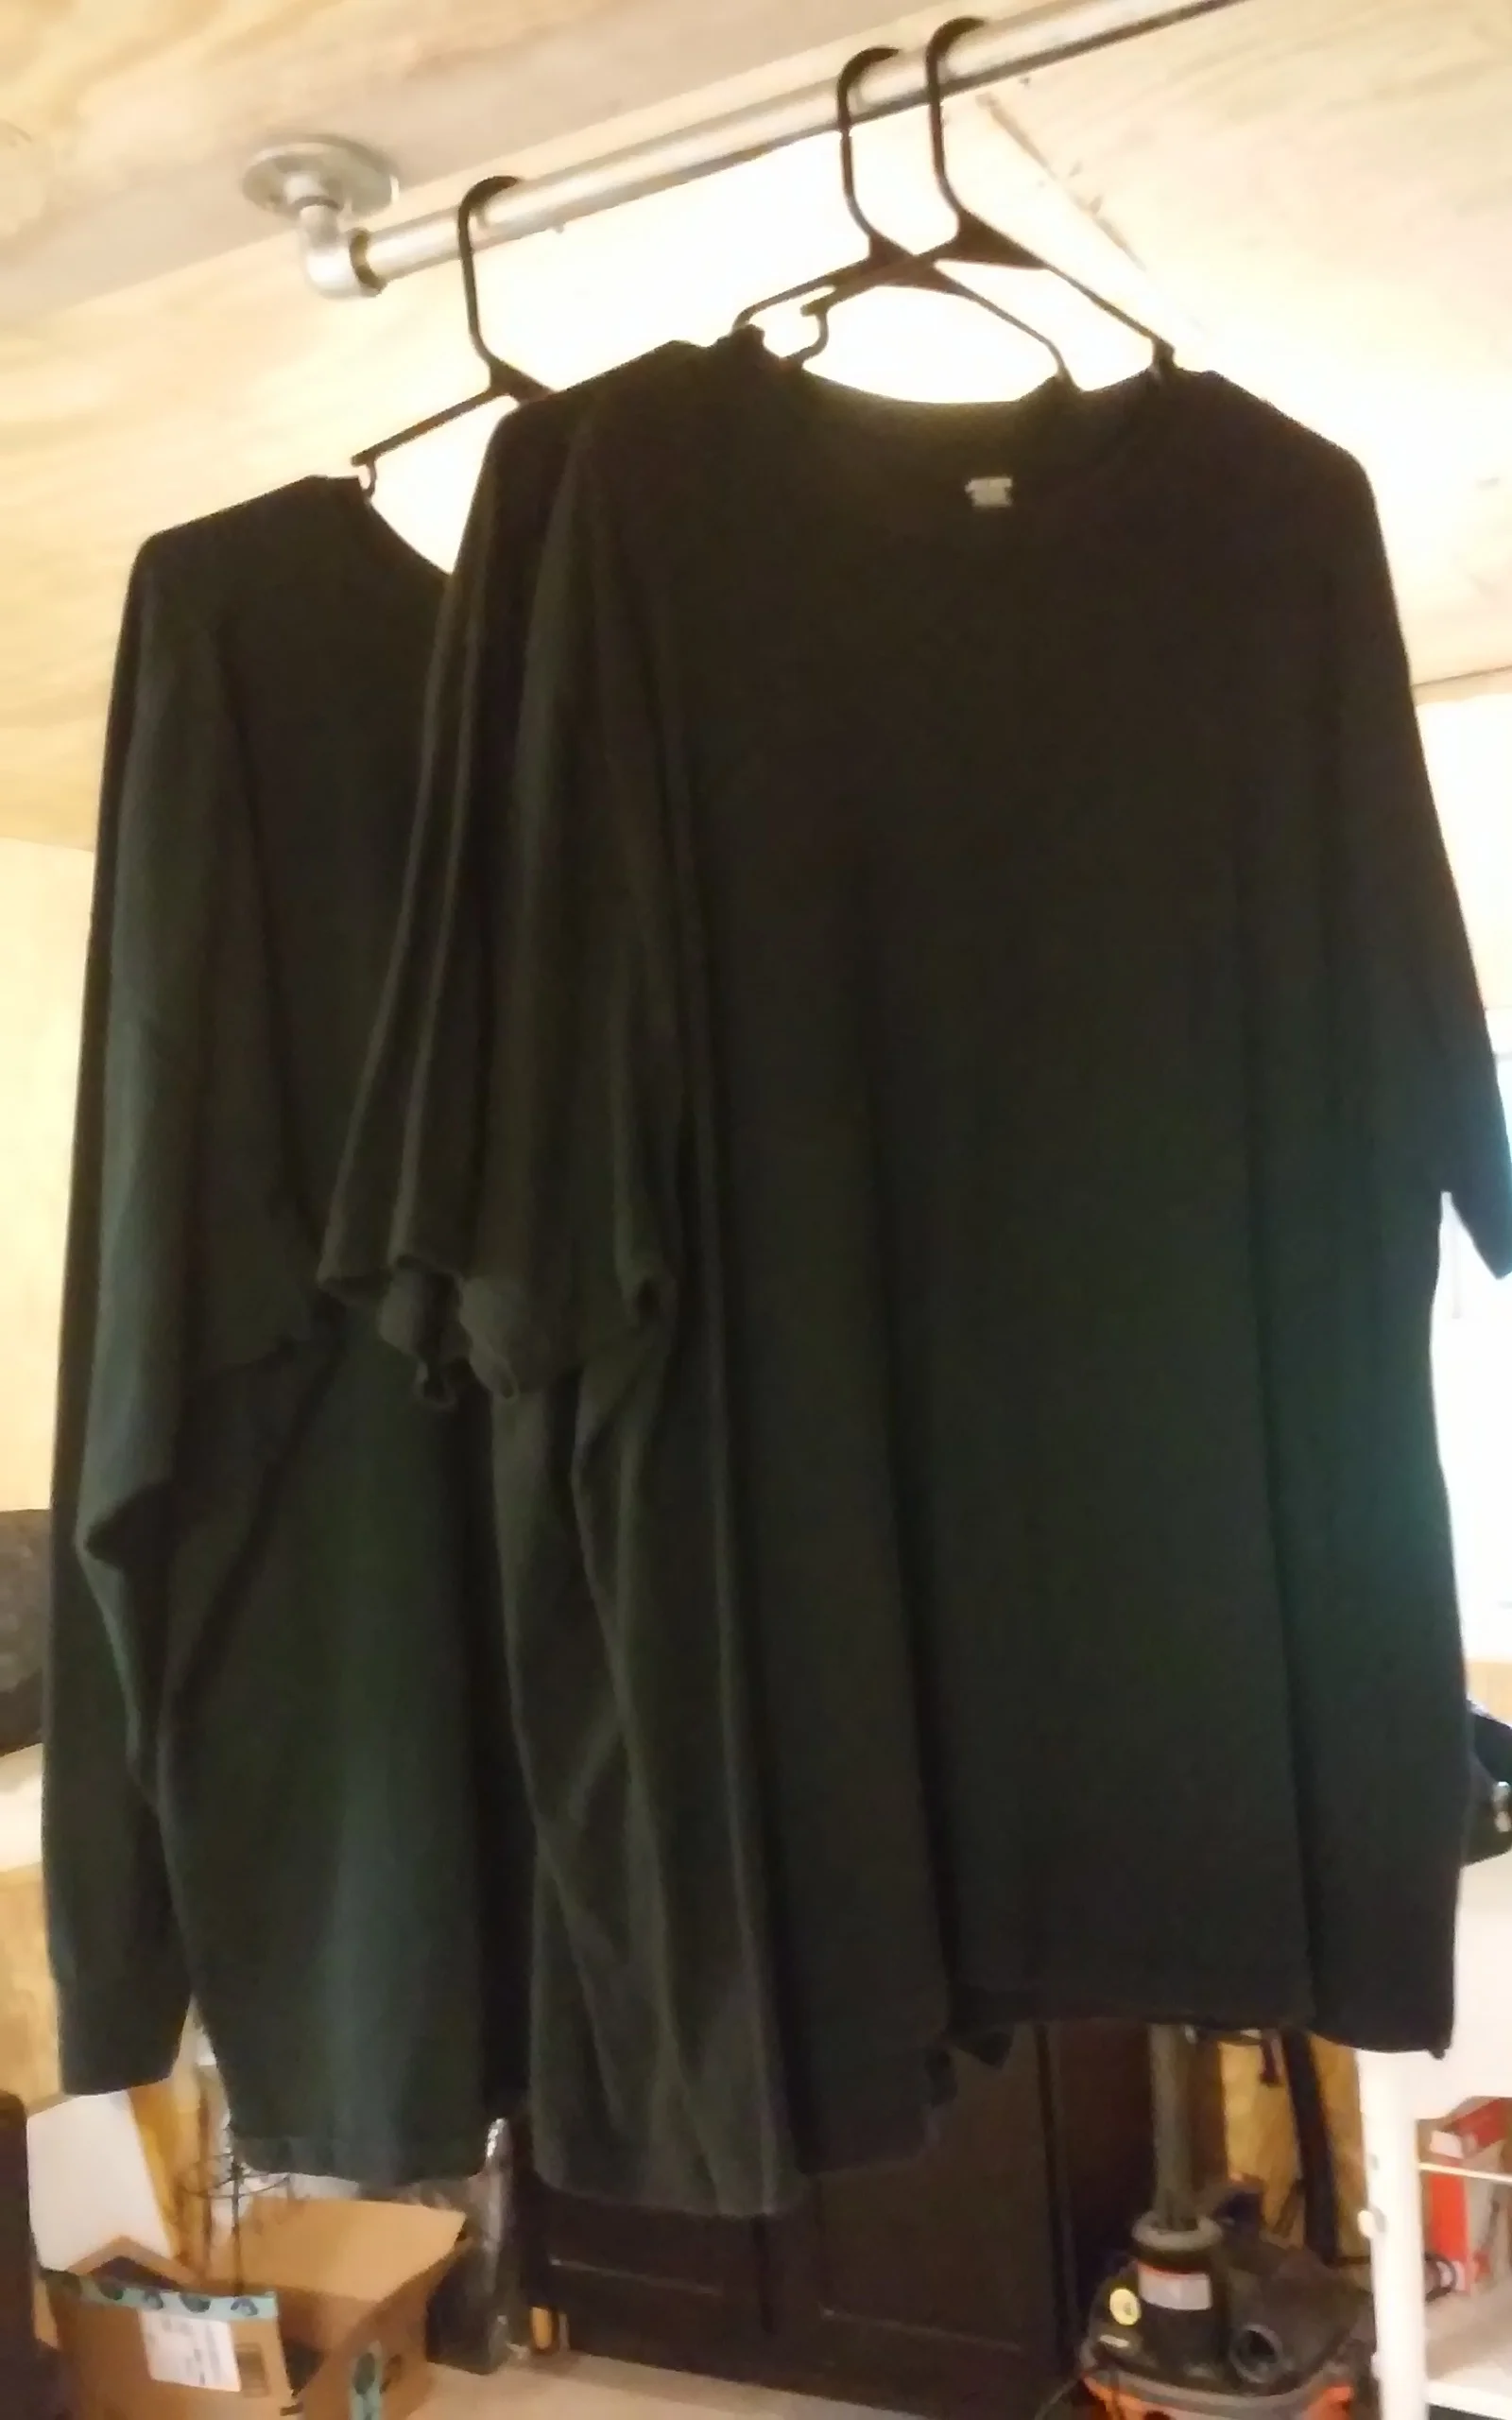
Following are 3 designs I worked on, from most difficult to least.
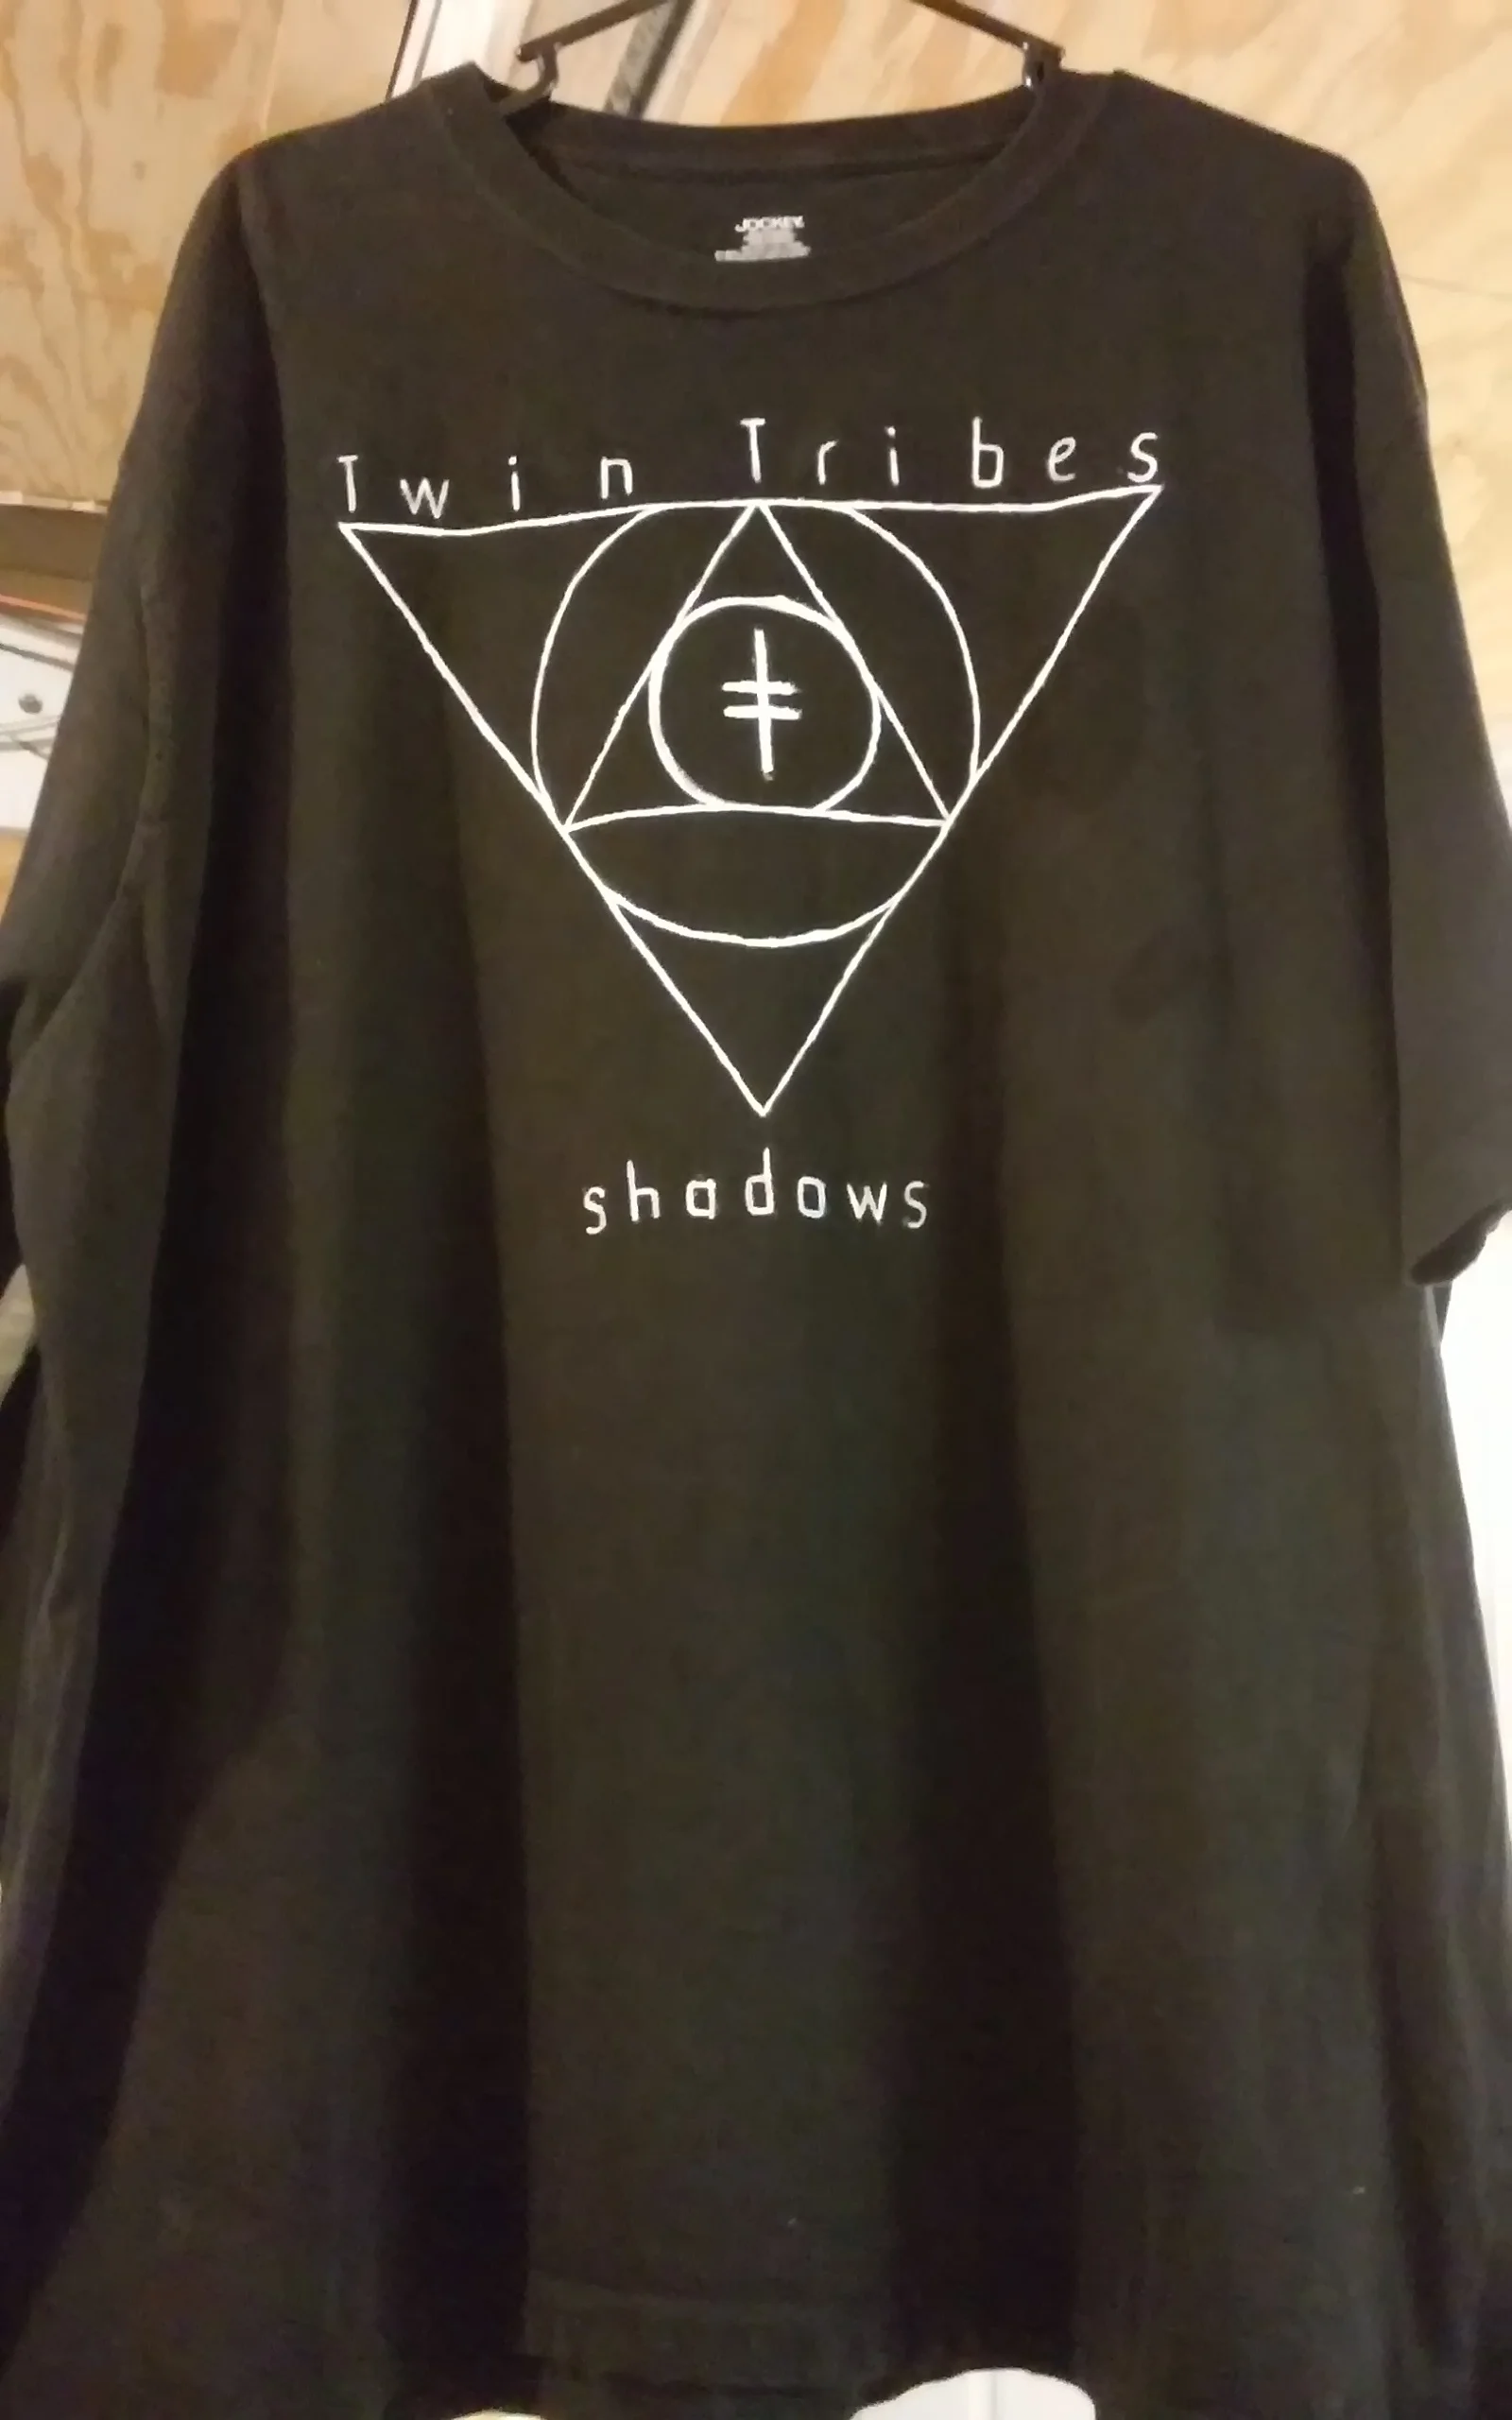
Twin Tribes – Shadows
I've been listening to this album a lot and I'm thoroughly hooked on it. I also love the design on the album cover and I think it makes a really nice shirt design. Since Twin Tribes is a new band and I haven't been able to get to one of their shows yet, I wanted to make something to show my support!
I used acrylic to paint this design, but before getting started I made sure to thoroughly lint roll the surface to remove any fuzz. This is really important since shirts like this are already difficult to paint a clean design on. I also used an old place mat inside the shirt to prevent any bleed-through to the back.

Before painting, I used a reference picture of the album cover and carefully sketched the design onto the shirt with a chalk pencil, using a ruler and some paint buckets to get the shapes right. If you don't have a chalk pencil, you can use regular chalk. Just file the ends to a point using a pencil sharpener.


After I was satisfied with my sketch, I slowly painted over the whole design with acrylic. This process was very tedious, as soft cotton shirts have slightly fuzzy surfaces that you will really notice once you try to paint on them with a small brush. My best advice is to work very slowly. Be patient and meticulous and it will pay off!
Here is the end result. You will want to leave acrylic to dry for a while and it can be washed later, but I caution against running it through a dryer too many times if your design is delicate.
She Past Away
I seriously love She Past Away and have listened to their albums on repeat to get through tough days. Needless to say I'm very excited about their new record deal with Metropolis as it means not having to pay import fees for the CDs, a US tour, and a new album! I created this shirt to solve an overall issue I have with band tees – they're always too small for me. I wear a 4x in most shirts and the largest they tend to be is 2x.
For this design, I used the age-old bleach method. Once again, I thoroughly lint-rolled the surface and prepared a backer to prevent bleeding. I layered 3 place-mats this time for a stable work surface and good barrier.

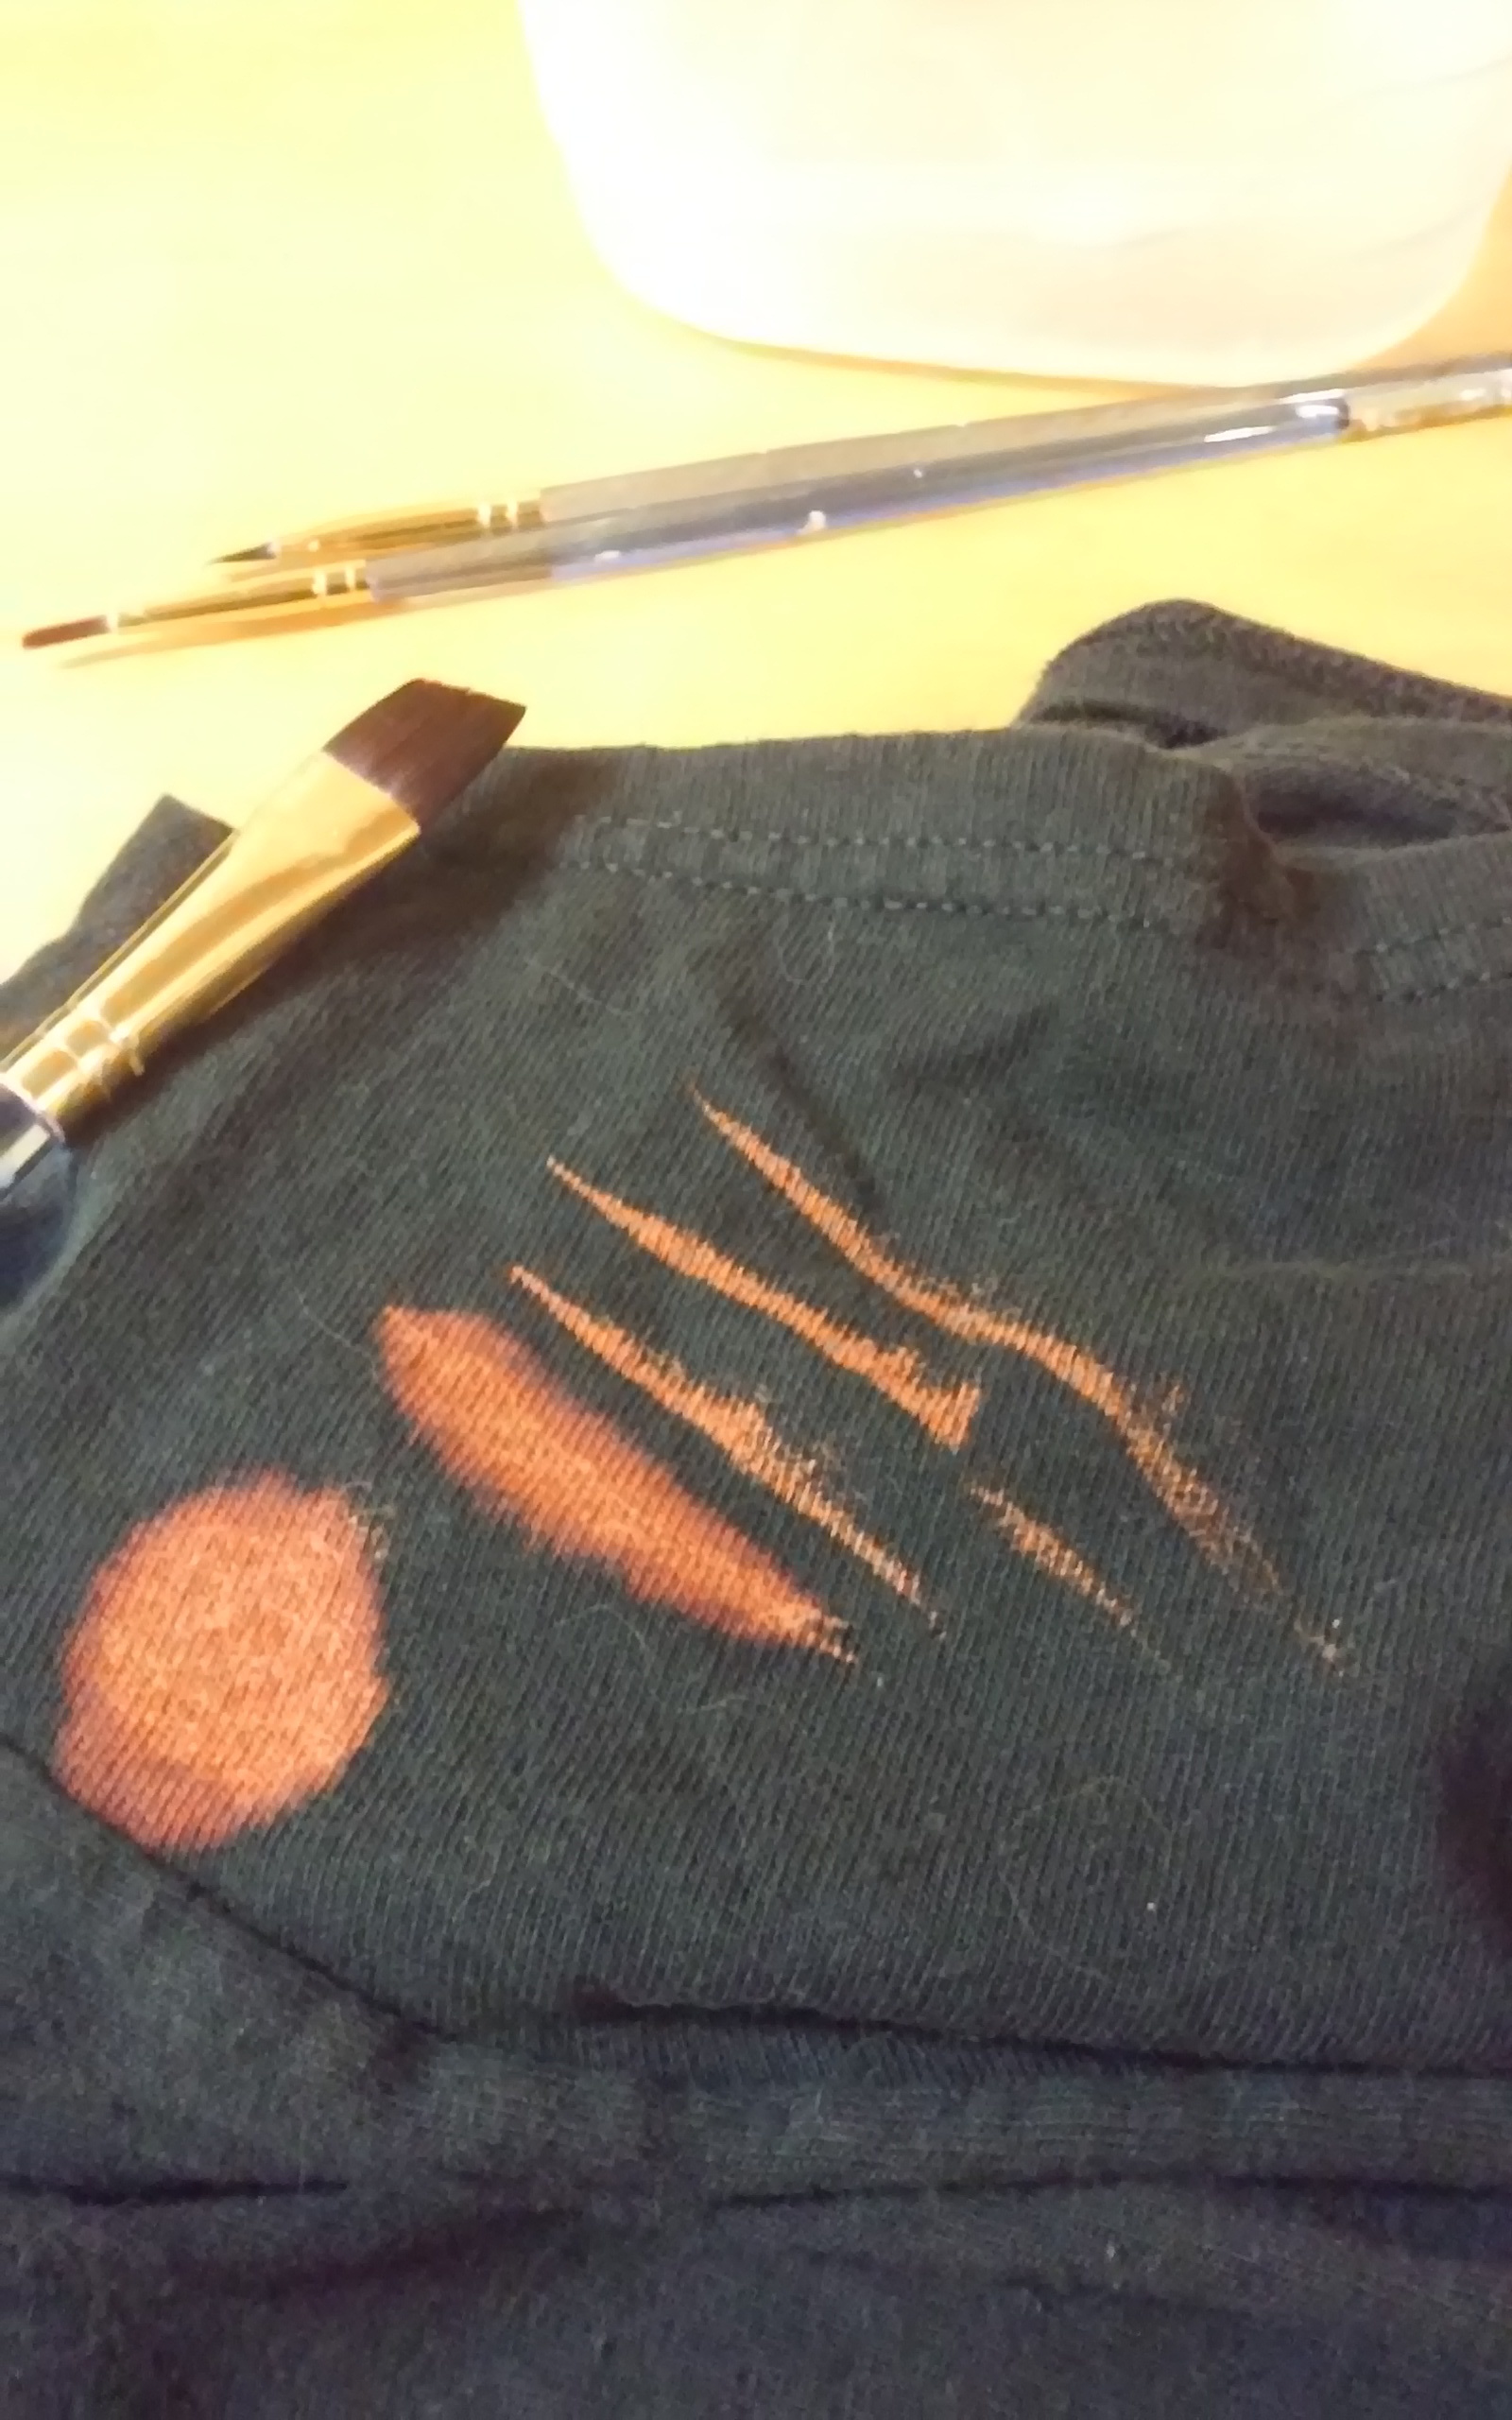

The bleach I used is regular Clorox found at Target, which has a slight gel consistency that prevents it from running too much. I tested it on a bit of scrap fabric before starting. Using my chalk pencil, I traced out the lettering just to get the spacing right, then painted over it using a cheap flat brush from one of those beginner sets of brushes.
I painted the circles for the nail heads first, then extremely thin lines to form the letters. When using bleach, the design you painted will appear almost immediately so its really easy to see what is happening the whole time. Only a small amount is required on the brush, and you definitely don't want it to drip randomly, so be careful.
Using a light touch and thin lines made for extremely sharp looking letters!


*when using bleach, be careful not to get it on anything you don't want stained. I wore clothing I don't care about when doing this project.
Spooky Fence Design
This design was hilariously easy! When looking around my workshop for ideas, I remembered a box of cheap dollar store Halloween decorations I used for my desk at work. These yard stakes are cheap and flimsy as can be, but I love the shape of them. I placed them across the shirt in an irregular pattern and lightly dusted the surface with white spray paint. This method makes for a surprisingly resilient design that you can wash hundreds of times! I made a bat design last year with this technique and its still going strong.


*If you're using spray paint, make sure you work in a ventilated area.
Look how spooky it is!
I also cut thumb holes in the sleeves for good measure. If you want to capture shapes but don't want to get paint on them, you can cut out any shape from cardboard or cover the item in painter's tape.

I'm really excited about how these shirts turned out. In a few hours of work, I've added 3 solid pieces to my wardrobe in a size that fits me comfortably. You can do so much with just a few basic supplies and a little determination.
As always, don't worry if you mess up! Imperfections are a sign of humanity. I already had most of the art supplies, so I spent less than $20 US to create these 3 shirts. If you were to buy the needed paints and some basic art supplies, I estimate it would be closer to $35, and that's for all three!
Thank you for checking out these simple but effective methods for making your own shirts! Please let me know if you have any feedback or suggestions!
Editor’s Note: We always support buying merch from the artist first when we can :)