
Welcome back again! This time I'm working from thrift store finds as usual, but instead of clothing, we'll be focusing on some simple home décor elements that are practical and functional, as well as beautiful. There's no need to spend a ton of money to make your space look bold, elegant, and spooky. This project is part of a series that I'll be presenting here, so look for more home décor projects in the coming months!
Let's get started. The first thing I grabbed from the thrift store was this lamp stand. The shade has been sitting in my thrift box for months waiting for a good stand to pair with. To start, I cleaned all of the elements with some Clorox wipes to provide a good painting surface. I also removed the little crystal elements and set them aside since a couple of them were missing. I may use these for a jewelry project later.


Once dry, I painted both the lamp stand and shade with a paint + primer spray paint. Any brand will do for this, but make sure it is paint + primer or it may not stick very well (I used this). While the paint was drying, I decided to make a set of crystal accents to replace the old ones I removed. I used the beaded chain technique, as it’s my favorite, but you can use any assortment of jump rings, chains, and other crystal chandelier elements to create a unique look!


Then, I simply attached the chains to the lamp shade using jump rings!

For the shade, I want to emphasize that the material it’s made of will change how it needs to be painted. This one is some kind of faux leather, so I used short, quick sprays to dust the surface. I still wanted the light to shine through the surface, so its not painted solidly. You can layer the paint however you like. In the end, I found that the paint remained a bit sticky even after completely dried, so I took advantage of this and dusted the entire surface of the shade with black glitter. The particles in the glitter I used are a variety of sizes, and it added a small amount of detail and texture to the surface.


Finally, I purchased a vintage style light bulb. This is not necessary and you can use any bulb, but this lamp is going to live in a shadowy corner of my room for now, and I wanted a more sleepy ambiance from it. Here's what it looks like now!


Lamps like this one are very abundant in thrift stores and just need a bit of love to make them a perfect match for whatever space is calling for them.
Next up is a piece I'm extremely proud of and it’s very simple, if a bit of a delicate working process. I found several of these chairs over the first half of 2018 in various thrift stores in my local area. They're available on a semi-regular basis and I always pick them up whenever I see them in good enough condition to work with.

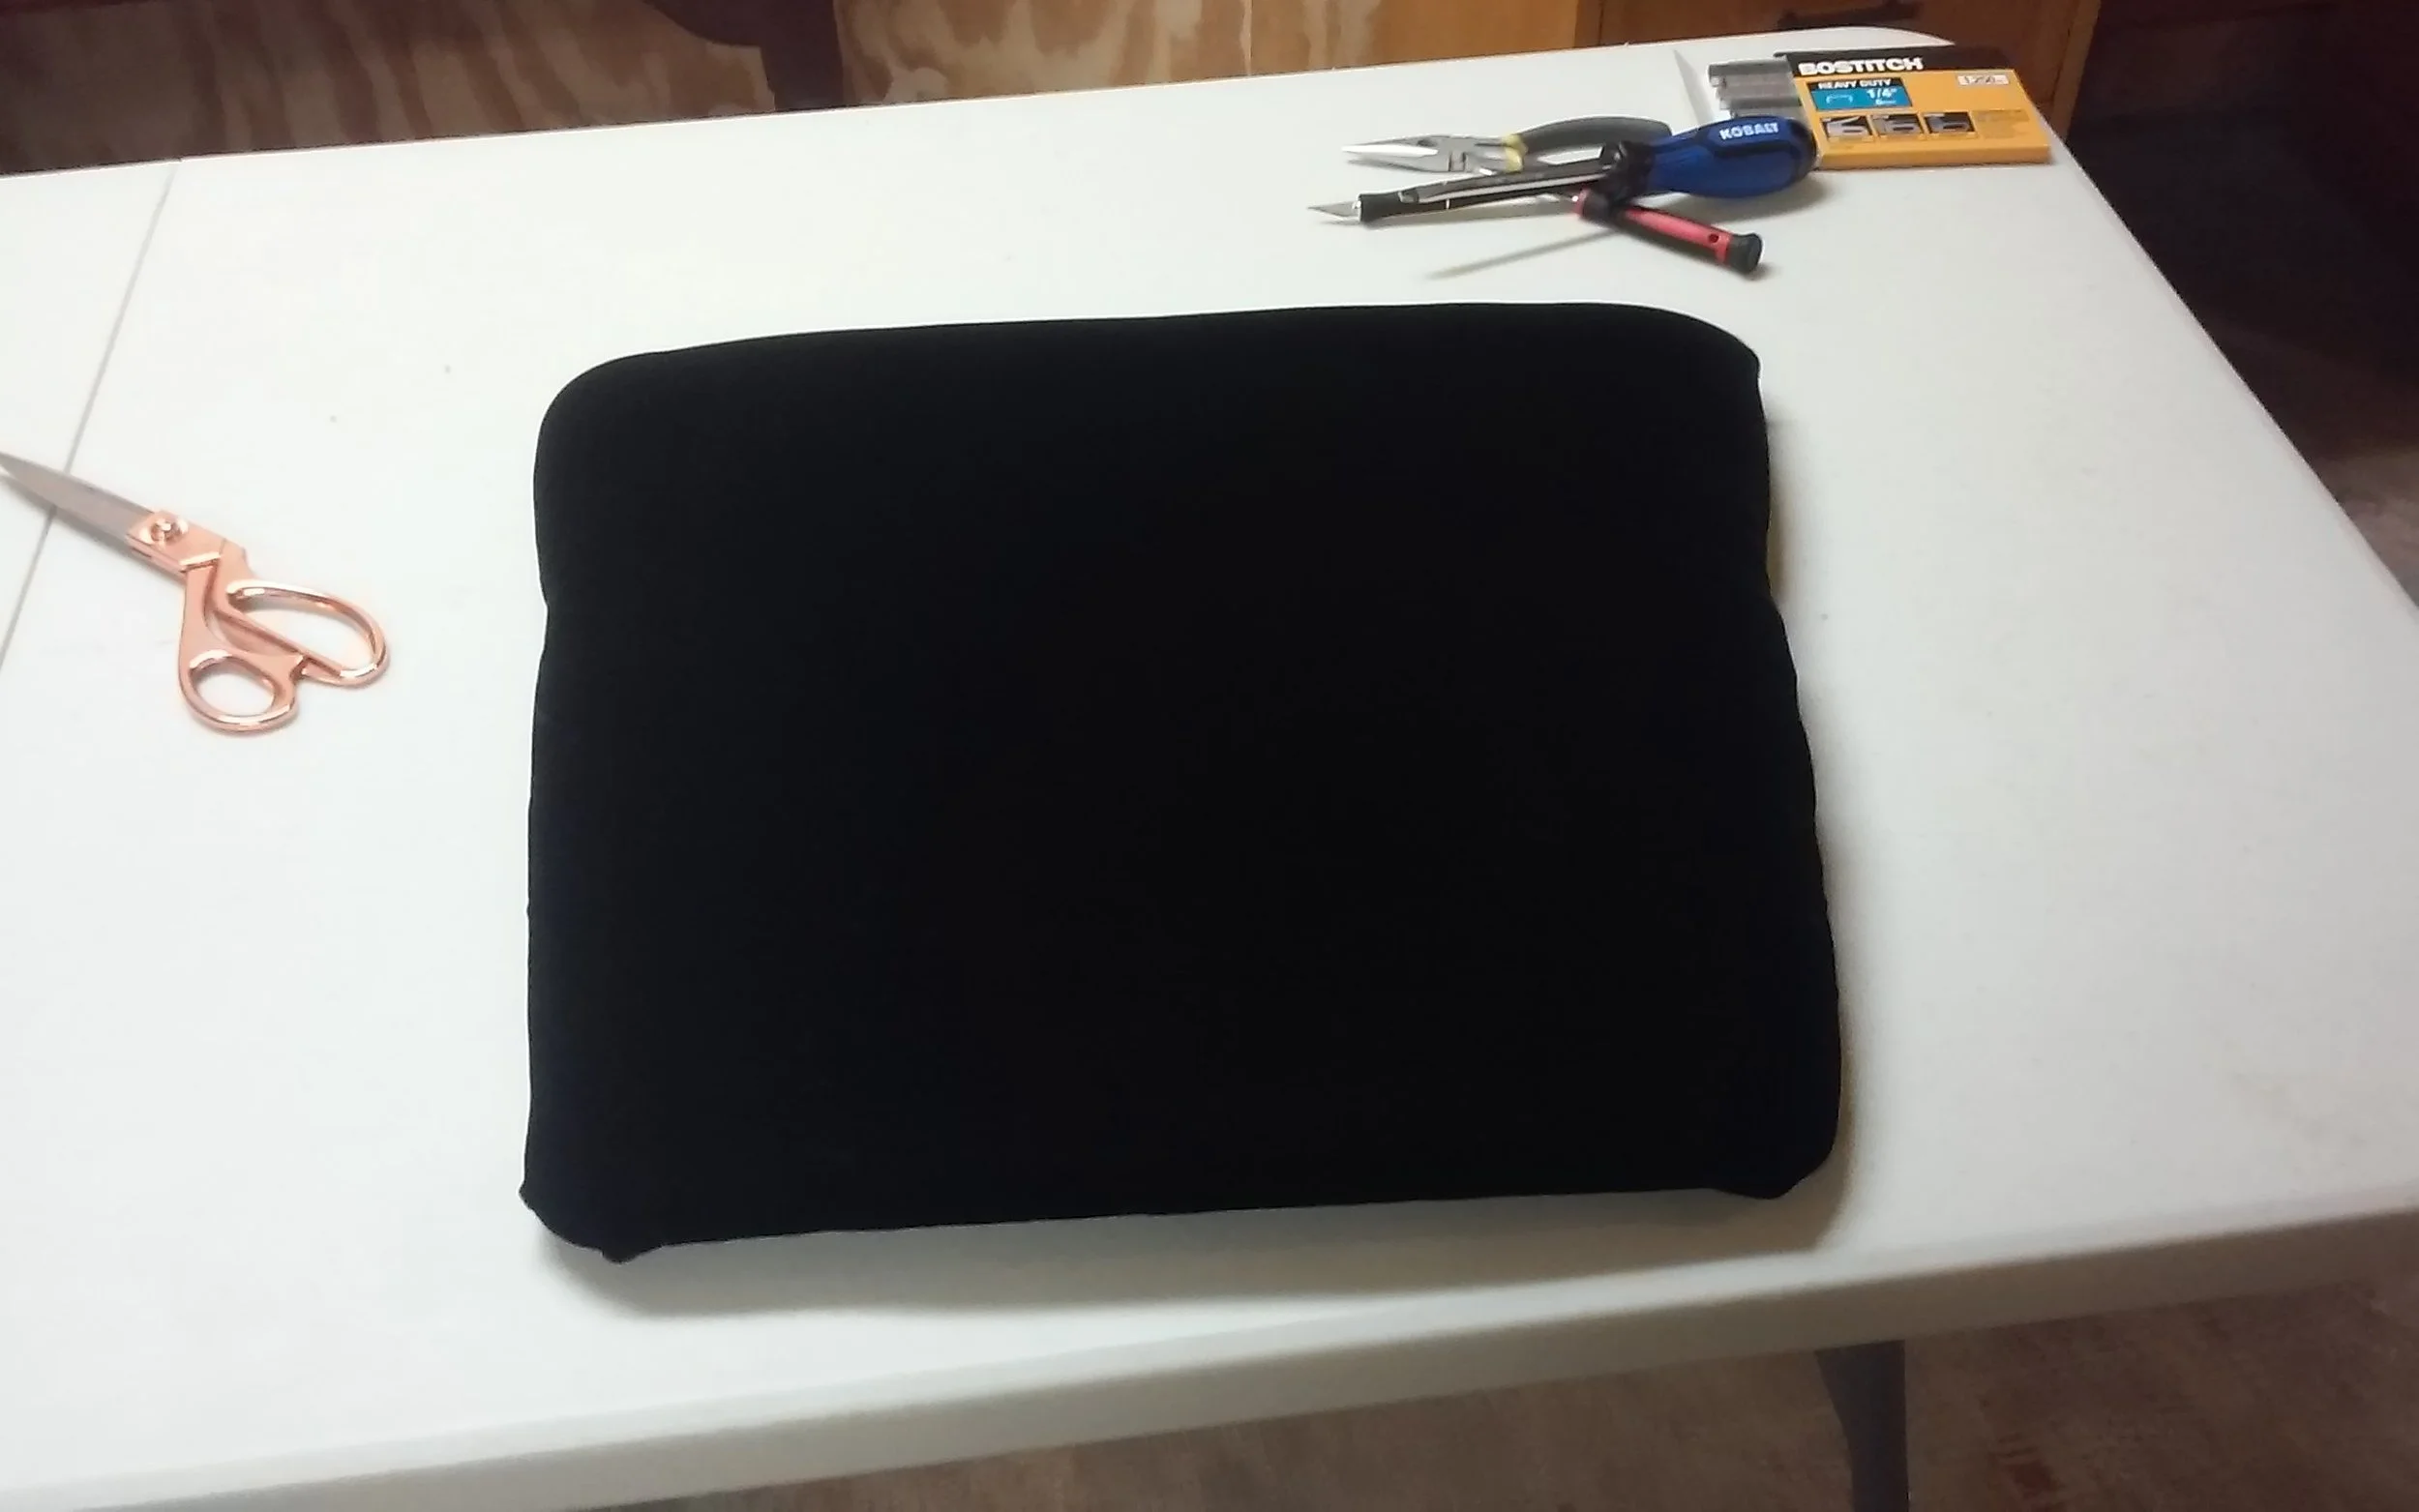
I will preface this section by saying that a staple gun will be almost required for you to do this project. It is technically possible to do without one, but much easier with. I happen to have one already (I use a Bostitch) and plan to work on many chairs, but if you don't have access to one, I recommend investing in this very useful tool.
First, I located the three screws connecting the seat to the frame on the underside of the chair, loosened the seat, and used screwdrivers, pliers, and a hobby knife to remove all of the fabric and staples from the wooden cushion board.


(Author's notes:
Use caution when handling thrift store finds of this type. Old staples may often break when you pry them loose, and you'll want to either pull the stubs out of the board with pliers or hammer them back down. Whenever you're using blades or other hand tools, make sure you take care to use them safely and not rush your work.
Check the cushion for any stains and damage. Like any thrift store item, you have no idea where this used to be, so you may want to wash the cushion or even replace it with some new foam if it looks suspect. For this project, this cushion looked almost brand new so I decided to just use it.)
With the old fabric removed and all of the old staples cleared away, we have a clean surface to attach the new fabric. I chose a length of black velvet I got at Joanne Fabrics in the remnants bin. I centered the cushion on the back side of the fabric, trimming away any excess and leaving room for the fabric to fold over the bottom for stapling. I tend to leave a lot of extra fabric on the bottom in case I make a mistake, but this doesn't matter in the end because it will not be visible.
Tips:
– Use a generous amount of staples to ensure a good hold
– Pull the fabric in from the corners first, then from the sides
– Use firm pressure when pulling the fabric to make sure it doesn't come loose and slide later
Now we have a soft and deeply dark chair cushion!

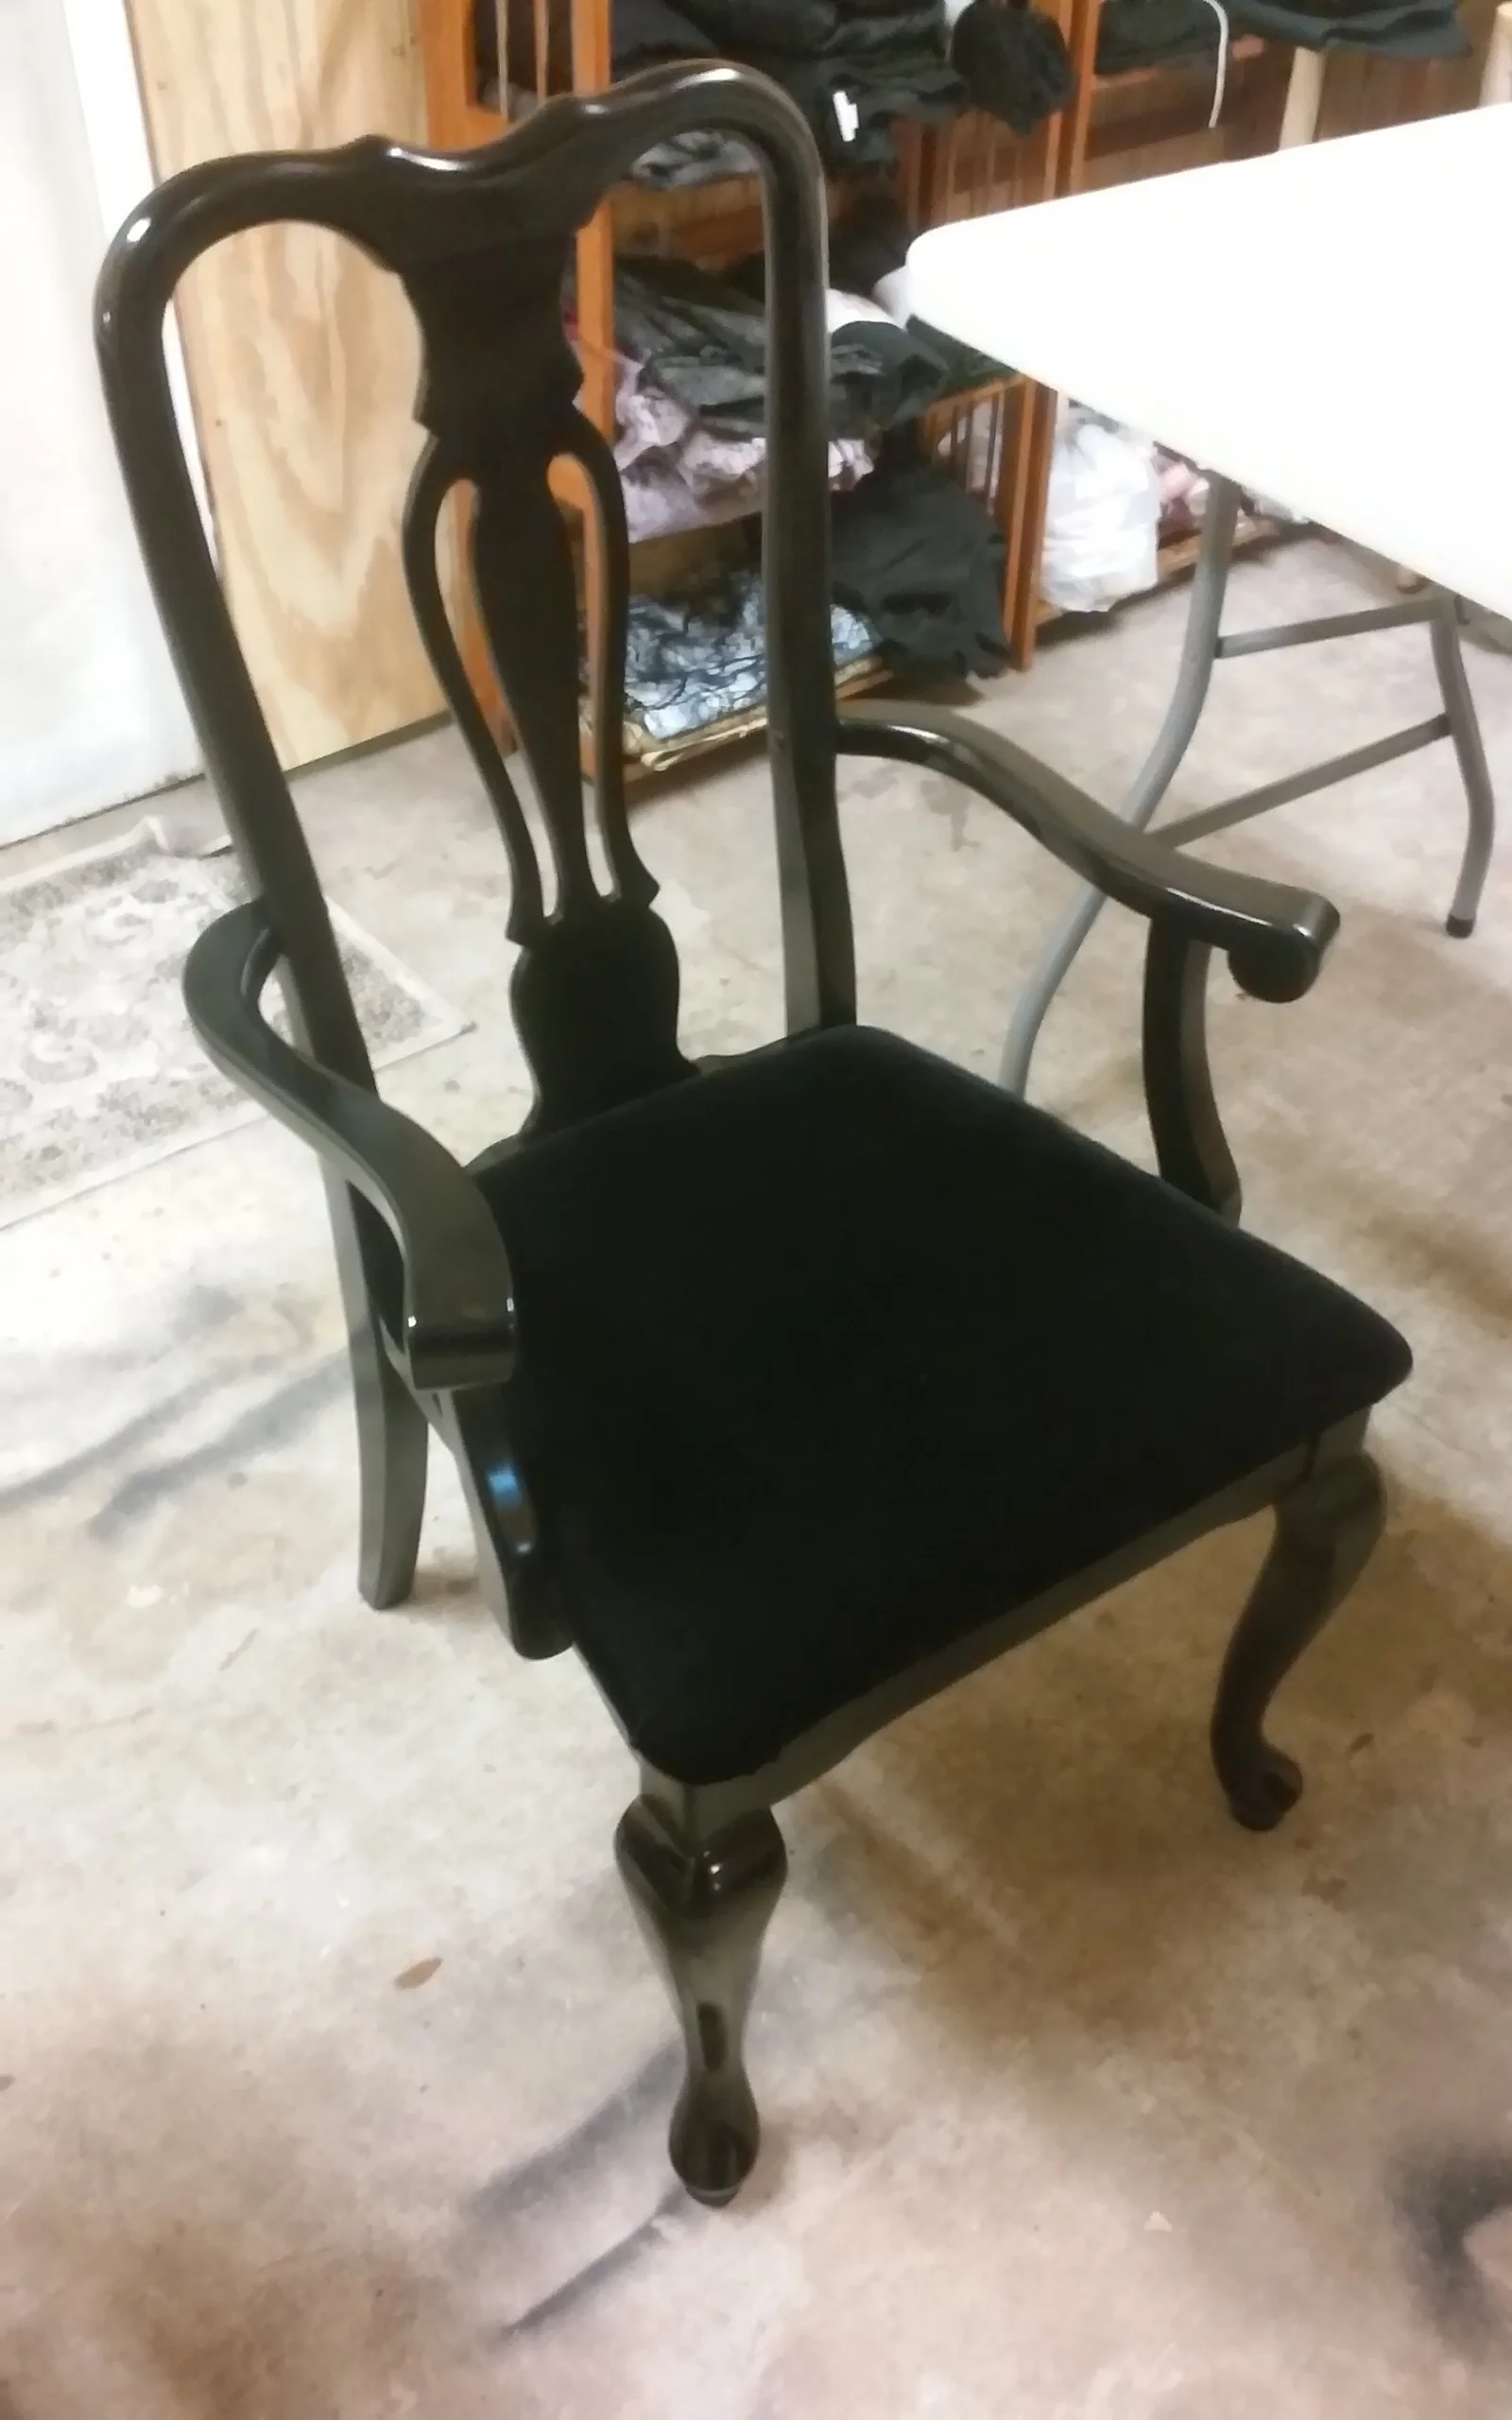
Now for the most tedious part, the painting. The best advice I have for this part is to paint carefully and slowly, section by section to avoid drips. I used a black lacquer paint for a shiny look that I find very beautiful on furniture.

Make sure to let each application of paint dry thoroughly before moving on. I had a total of four painting sessions to finish the entire surface of the chair, paying close attention to any missed angles to ensure maximum coverage. I only used one layer, but stubbornly refused to touch the chair for at least several hours after each section was completed. Patience is key for a consistent surface! I was surprised at how well this paint applied. I didn't even need to sand the surface of the wood before applying.
Here is the beautiful finished product!
Here's a quick price breakdown of prices for each of these items. Some will be estimates, and my price breakdowns will not include tools, since they are versatile, reusable, and commonly available already or can be borrowed.
Lamp stand – $7 – Goodwill
Lamp shade - $2 – Goodwill
Chair - $7 – Goodwill
2 cans of spray paint - $3 each – Home Depot (Amazon link)
Black velvet - ~$5- Joanne Fabrics
Optional:
Vintage Style LED lightbulb - $10 – Target (Amazon link)
Glitter - $5 – Michael's Arts and Crafts (used about 1/5 bottle) (Amazon Link)
This brings my personal total to around just $50 for 2 customized items!
Thanks for checking out this article. As always, I am open to suggestions and comments! Happy DIY!
Follow Jason on Instagram @junkyardbat, on Facebook as JunkyardBat, and on Etsy as JunkyardBat.
For more music reviews, mixes, how-to’s, interviews, and and opinion pieces, follow us on Facebook and Instagram @obscuraundead and subscribe to our email newsletter below.
Have an album that fits into the genres we review? Want to add us to your press release list? Message us on any of our social media platforms or shoot us an email directly at obscuraundead@gmail.com
Obscura Undead is a volunteer based not for profit project run by a handful of DJs, bloggers, and enthusiastic goths around the world. Our goal is to promote new and obscure music and do our best to keep vital the scene that means so much to us. We are always looking for passionate and reliable people to join our team.
Editor’s note: We’re trying out Amazon Affiliate links on this article. If you’re in the US and click through any of them to Amazon and end up buying that product, Amazon will give us a kickback at no extra cost to you. It’ll help us offset site fees, and keep our content free of intrusive ads. Thank you!