
Greetings! I have returned after a long month of undesirable plague! Now that it has cleared, I'm here to shred some fabric with a new low budget piece. There's a little sewing involved, but its very simple hand stitching that anyone can do. This piece has a variety of elements involved, so let us begin.
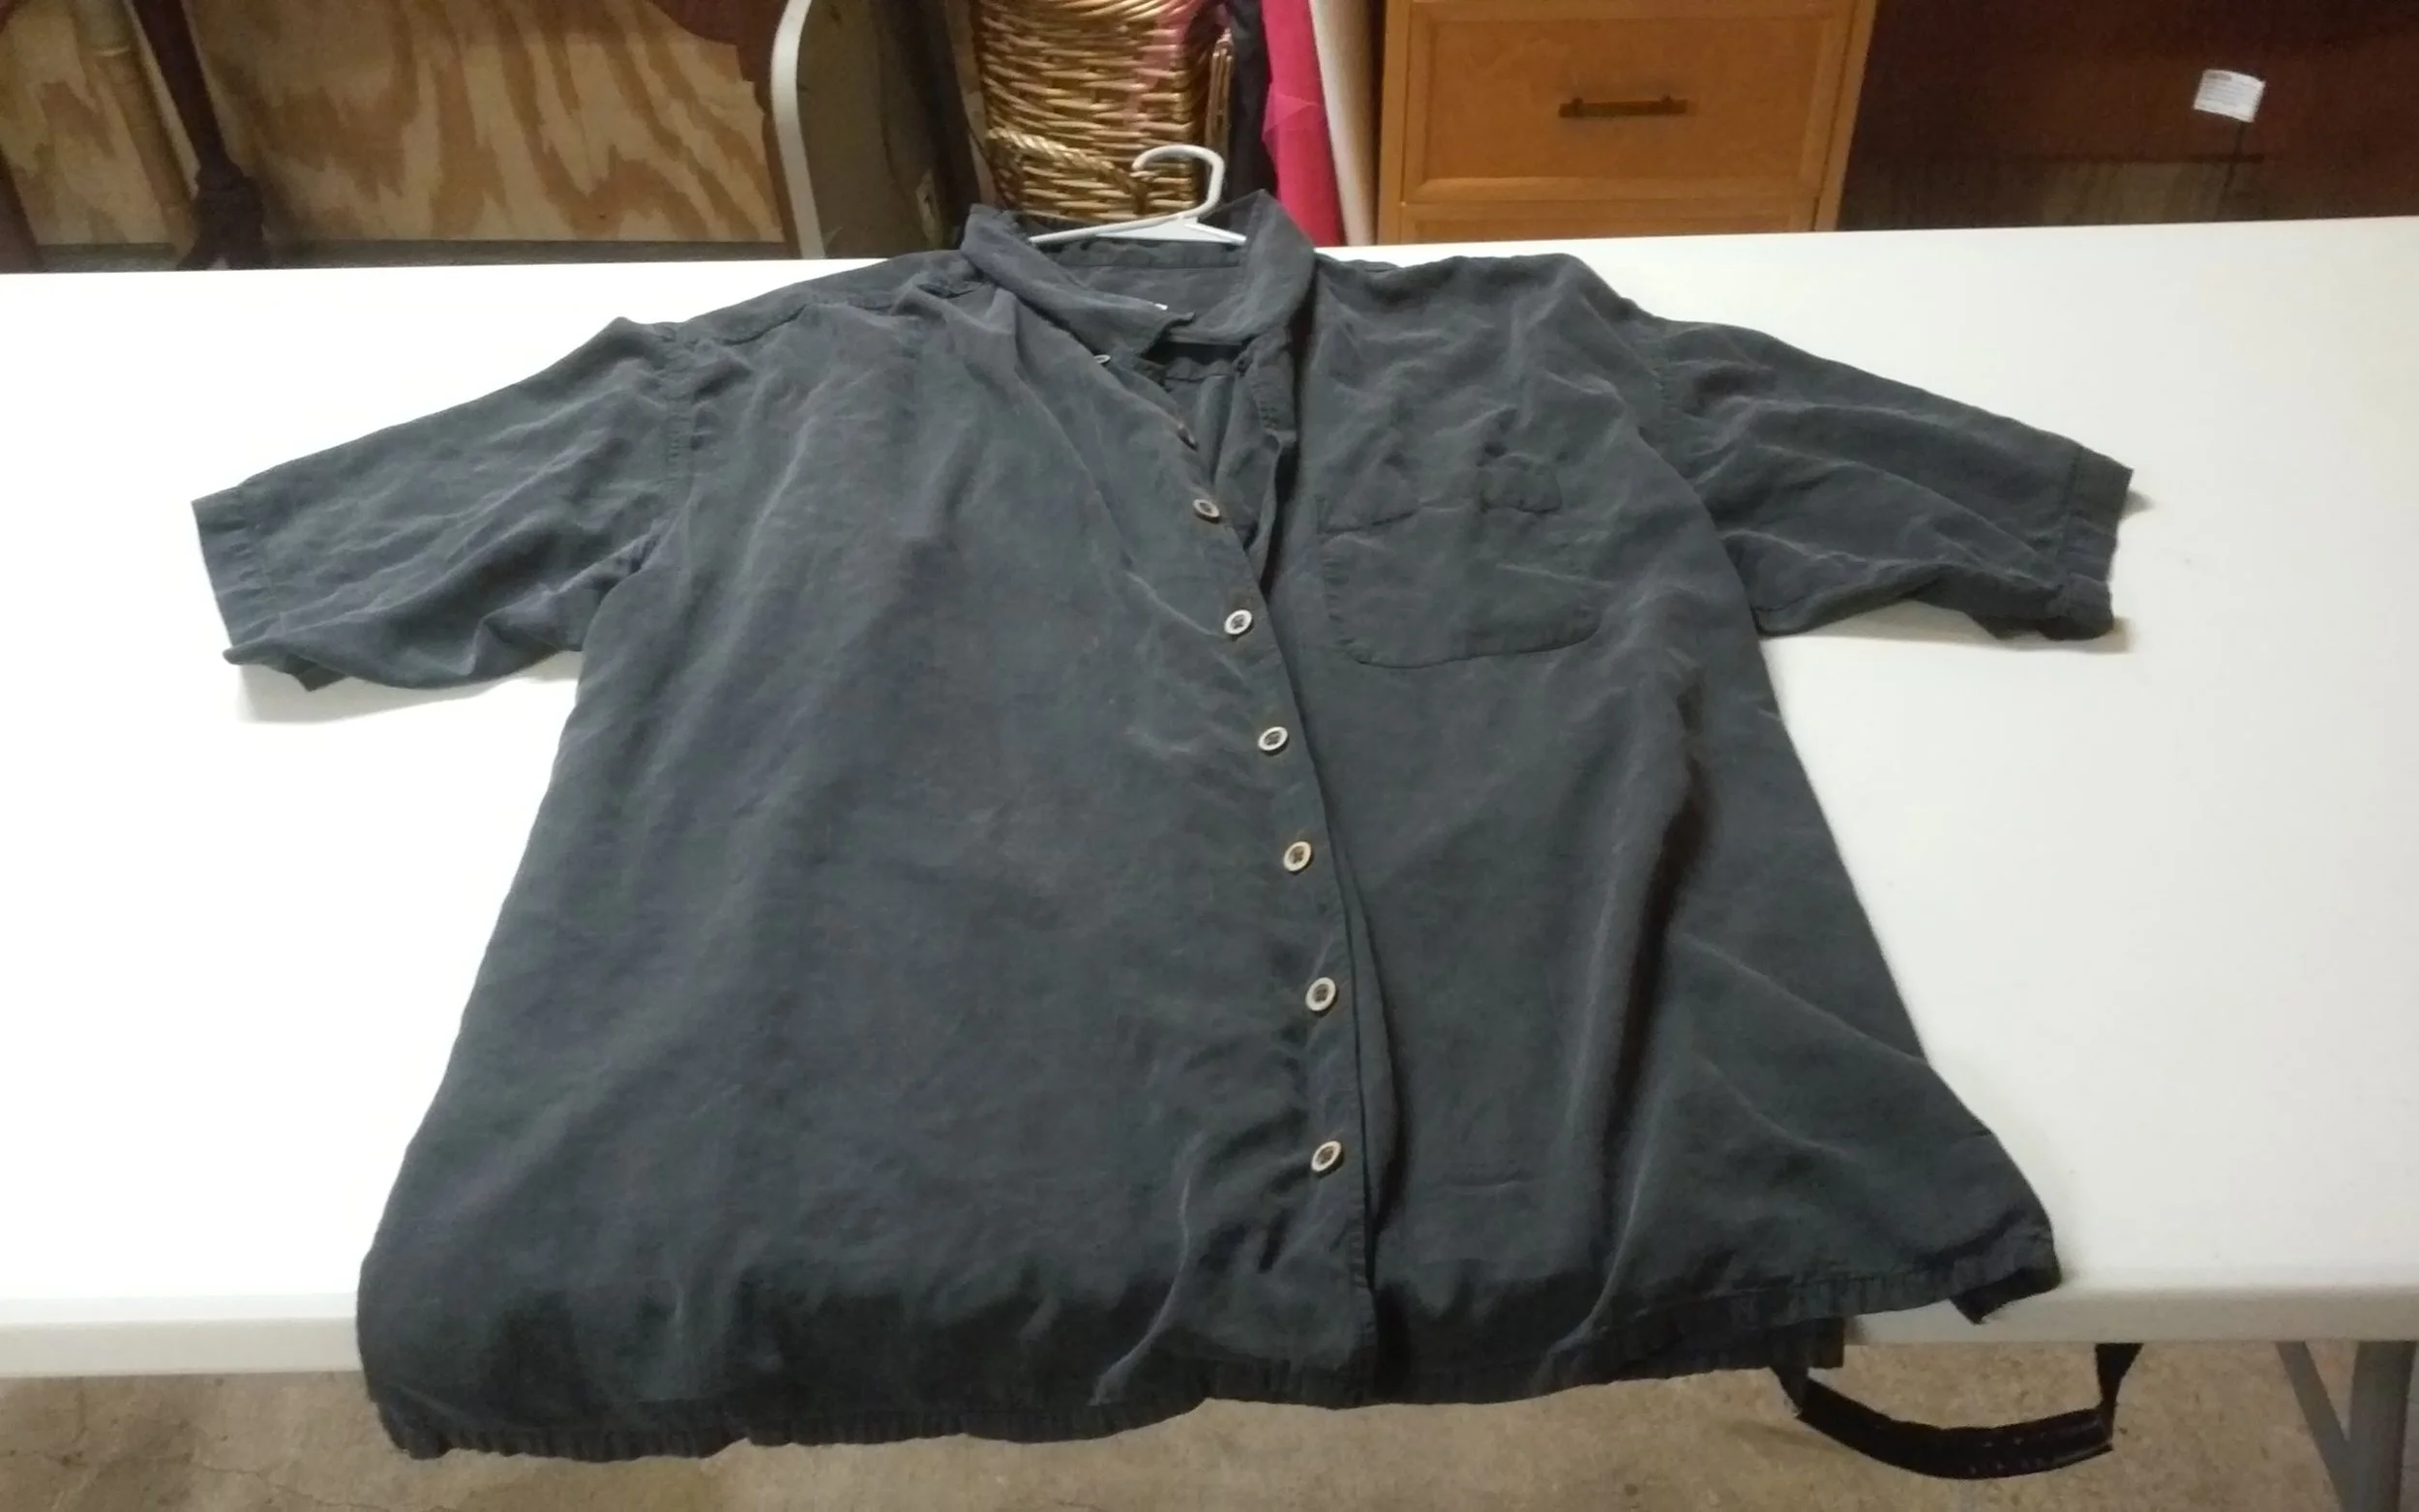
I've had this button up shirt for a while and decided it was time to modify it. I originally purchased it from Goodwill a couple years ago. I also found these packs of spooky buttons on sale at Joann Fabrics and the little tombstones caught my attention, so I really wanted to switch the boring regular buttons out for those. I also have another button up shirt laying around that's way too small for me, but I wanted this cheesy cross design to use as a patch, and the leftover fabric will server a purpose later as well.


To start, one of the side seams was a bit ripped, so I ripped both of them the rest of the way to make the side more open and flowing.

Next, I sketched out and then roughly painted on some song lyrics on the back. The line “Popular music is contamination” is from Lebanon Hanover's Sadness is Rebellion and has been resonating with me a lot lately. They're my favorite band of the modern goth movement! I also had a bit of extra paint leftover, so I painted some nonsense on there too.

Now its time for the buttons. I used a craft knife to cut the threads holding the old buttons on and gathered some goth appropriate sewing supplies to begin adding the new buttons. I chose 1 skull and 5 tombstones. These are all shank buttons, which are the kind with just a loop on the back.


The sewing method is very simple, but something to help you out when hand sewing is like the picture above, thread your needle to the middle of a length of thread and then knot the two resulting ends together. I used to just knot at the back of the needle, and this would cause snags and eventual unraveling. Using this method will also make it very easy to cut and continue using the threaded needle as you finish buttons. It took me a while to realize this because I was too stubborn to look up any guides!
Sew up from under the fabric and through the loop, then into the other side and repeat. About 7-8 repetitions should keep the button on firmly. Sew sideways underneath the button twice and knot before cutting your thread off and moving to the next button. Here are all the buttons sewn on.

Now for a quick fabric destruction session! I cut the cross emblem from this extra shirt and set aside, then cut out the back of the shirt following inside the seams. I folded this in half and cut for 2 panels. After creating these panels, I cut randomly along the bottom and then pulled the cuts apart to create the tattered look you see here. Soon, I'll add these to the main piece.


It is time for my friends the pins! It wouldn't be one of my clothing pieces without them. I pinned the cross patch over one of the shoulders and inverted it because DARQUE and then added one of our new Obscura Undead patches to the upper back section.


With more pins, I added the tattered panels from earlier inside of the ripped side seams to create an interesting silhouette. I really love flowing, tattered things so this fits my sensibilities perfectly.

Finally, I decided to add a few pyramid studs to the front pocket. These have 4 prongs on the back and I usually use a pair of pliers to fold over and clamp down these little back spikes. Use caution when doing this, since they really enjoy seeking out the undersides of your fingernails if you aren't paying attention. I added these in a really messy way, but you can use each previous stud to line up all the others for perfect lines if you want to.


Here's the front and back of the finished piece! I think this is one of my less graceful pieces to date, but tearing things up is so much fun.


Thanks for stopping by!
As always, here's a quick price summary:
2 shirts, Goodwill ($9 total)
5 packs of halloween buttons, Joann Fabrics. These were buy 3 get 2 free and were around $5 ($15)
Assorted safety pins and studs, lying around the craft room (approx $1)
Studs on Amazon
Safety Pins on Amazon
I only used a small amount of paint despite the large area painted, and I also made the Obscura Undead patch myself. All accounted for, about $25 since I sprang for these specific buttons and each pack only had 1 tombstone. Of course, the other buttons will get used in future projects down the road.
For those interested, Obscura Undead patches will be available on my Etsy store coming soon!
For more music reviews, mixes, how-to’s, interviews, and and opinion pieces, follow us on Facebook and Instagram @obscuraundead and subscribe to our email newsletter below.
Have an album that fits into the genres we review? Want to add us to your press release list? Message us on any of our social media platforms or shoot us an email directly at obscuraundead@gmail.com
Obscura Undead is a volunteer based not for profit project run by a handful of DJs, bloggers, and enthusiastic goths around the world. Our goal is to promote new and obscure music and do our best to keep vital the scene that means so much to us. We are always looking for passionate and reliable people to join our team.
Editor’s note: We’re trying out Amazon Affiliate links on this article. If you’re in the US and click through any of them to Amazon and end up buying that product, Amazon will give us a kickback at no extra cost to you. It’ll help us offset site fees, and keep our content free of intrusive ads. Thank you!